
Essential Highlights of Document Scanning Services in Minnesota
- Learn how to scan documents easily using a scanner or your smartphone.
- Understand the importance of DPI, file types, and color modes for different scanning needs.
- Discover tips for troubleshooting common scanning issues, such as connectivity problems and image quality.
- Get answers to frequently asked questions about scanning documents, including scanning to the cloud and OCR.
- Find out how Minnesota Document Scanning can help you with efficient and high-quality document scanning services.
Introduction
In today’s digital world, knowing how to make a scanned document is very important. You might have important papers, special photos, or just a receipt to digitize. A scanner can really help you with this. When you learn how to use a scanner and change settings like dpi, you can make sure that your digital copies are high-quality. This makes it easy for you to store, share, and print them.
Getting Started with Document Scanning
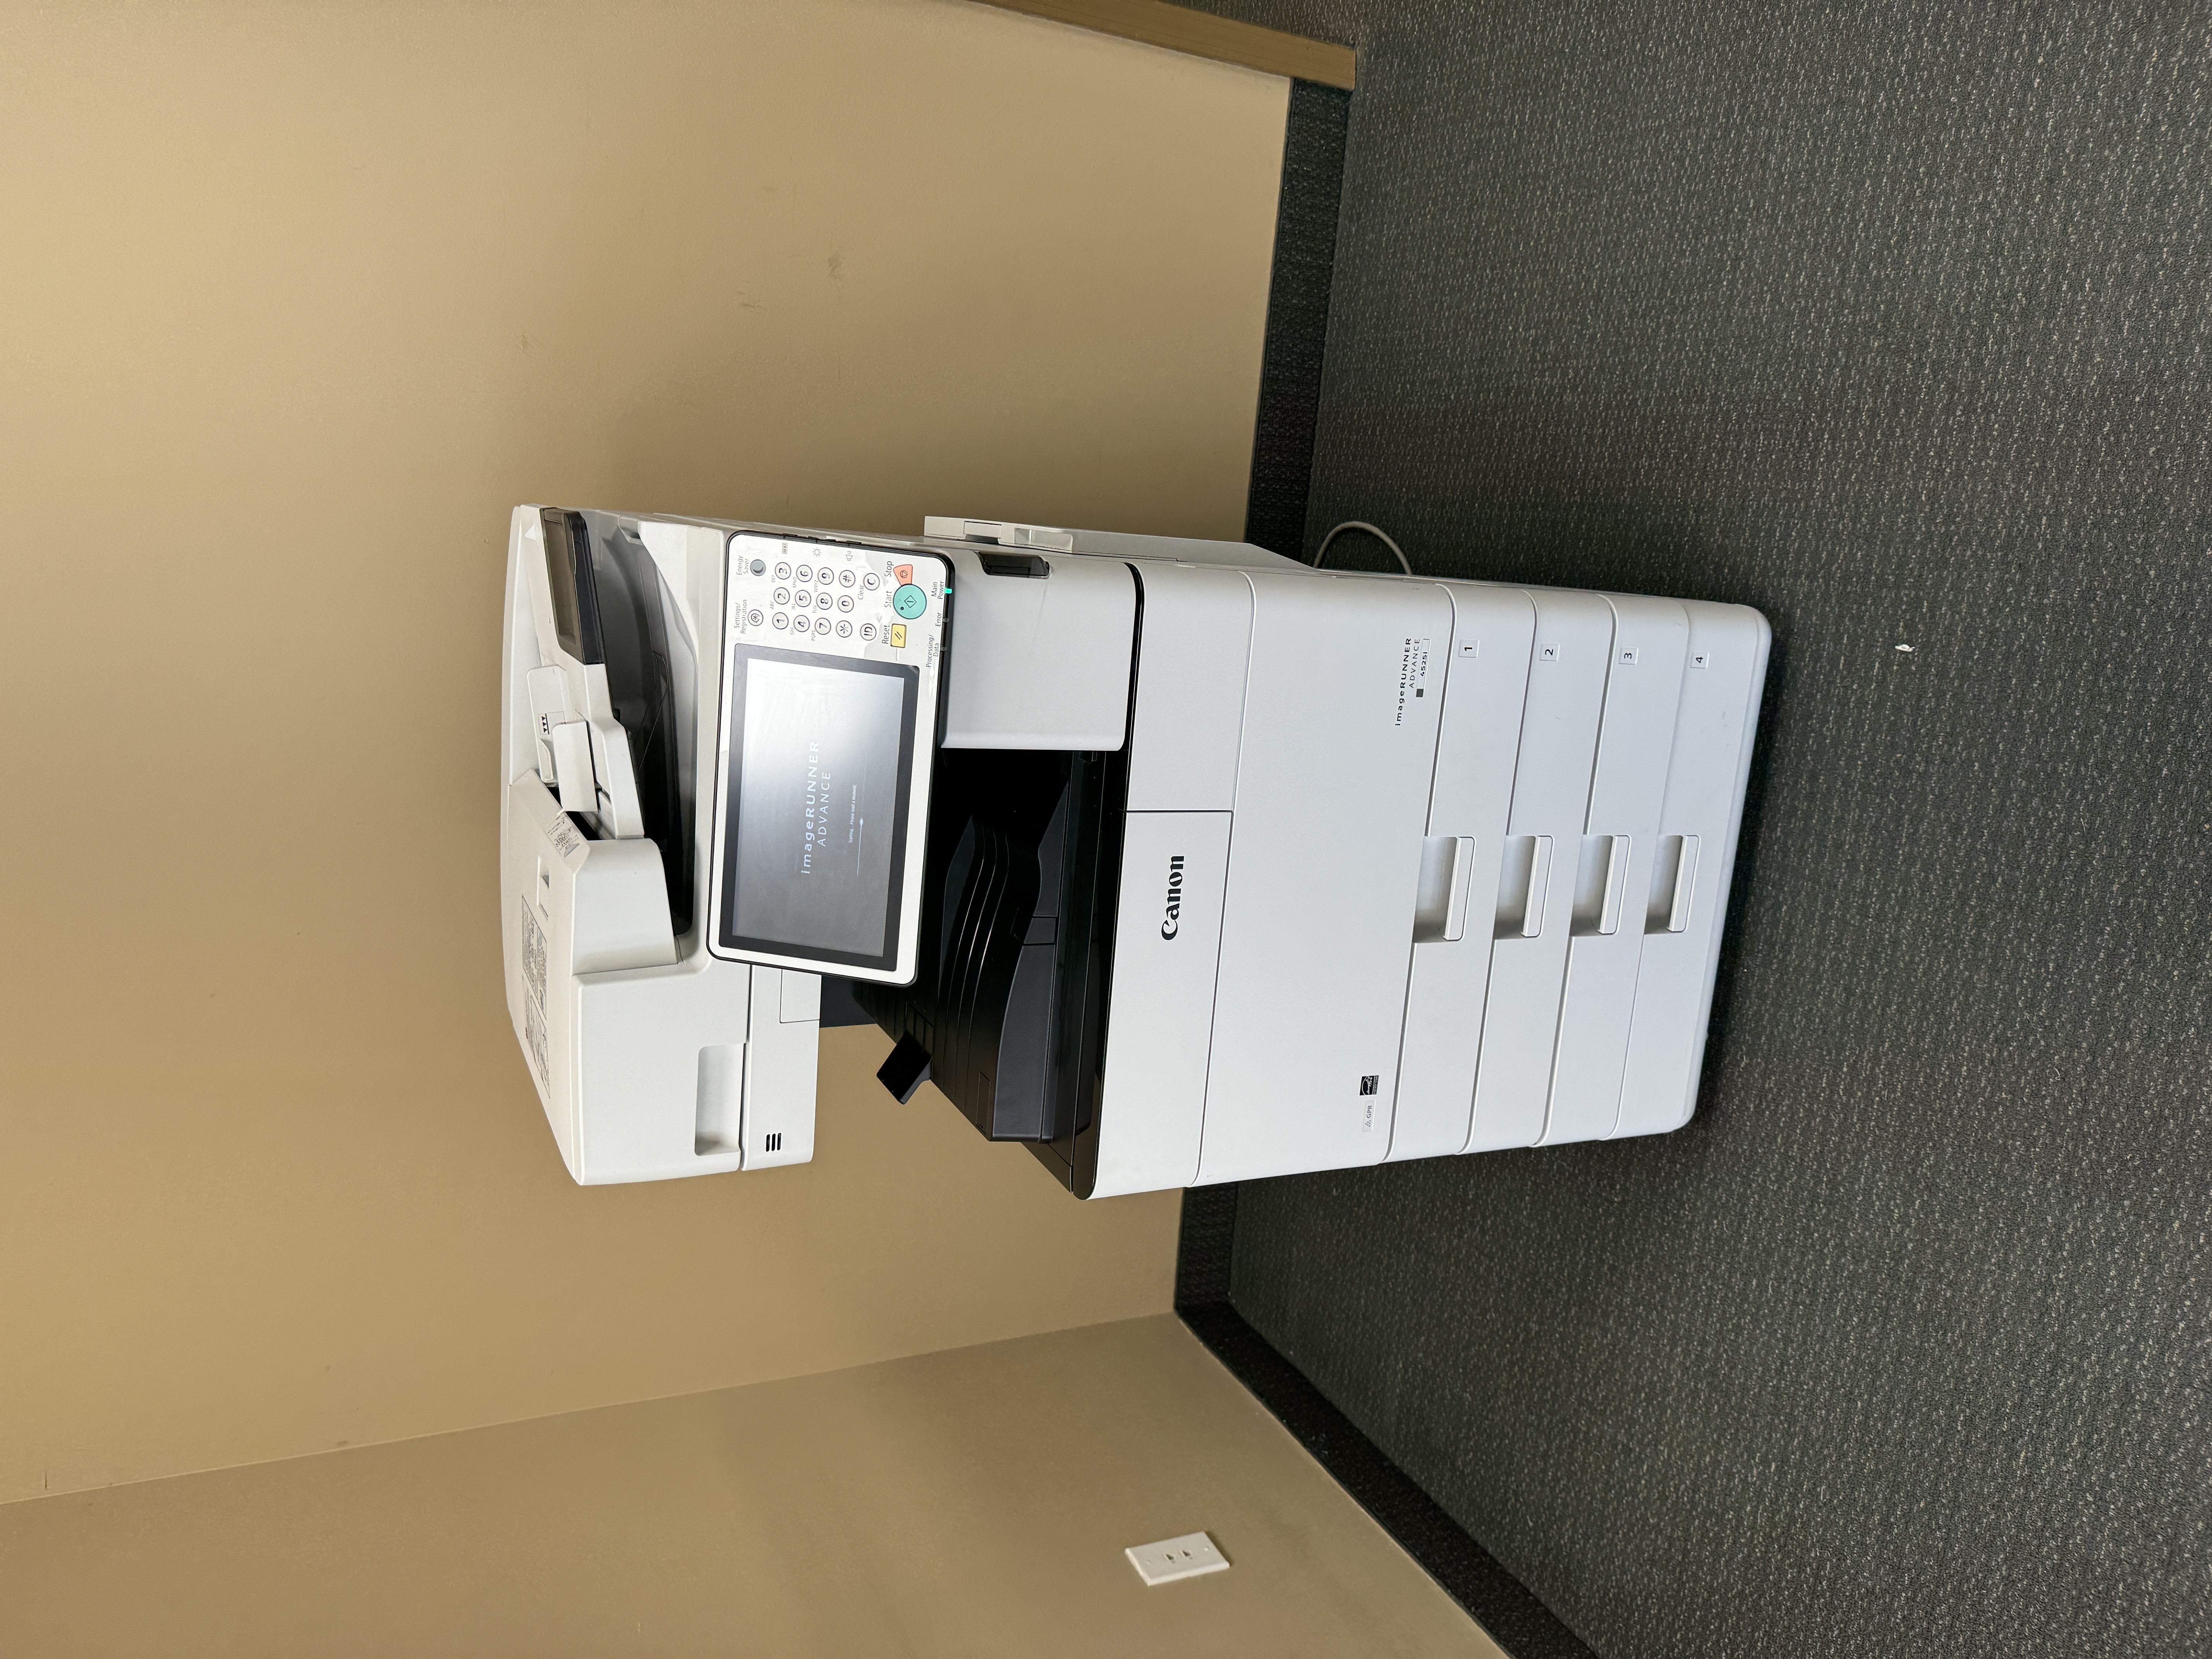
Before you start, you should learn about the main parts of a scanner. Most scanners have a scanner bed for single pages or photos. Many also have a document feeder that lets you scan multiple pages easily.
When you turn it on, look for a scan button. This button usually starts a quick scan with default settings. But if you want more control over the scan settings, it’s better to install and use the scanner software that comes with the device or can be downloaded from the manufacturer’s website.


https://www.youtube.com/wikihow
Preparing Your Documents for Scanning
Taking a few minutes to prepare your documents can give you better scans. First, gather the receipts, documents, or photos you want to scan. Make sure the glass part of the scanner bed and the document feeder are clean and free from dust.
Next, place your documents in the order you want them scanned, especially if you are using the document feeder. If you are scanning double-sided documents, check the right way to feed them into your scanner, just like it says in the user manual.
It is a smart idea to create a special folder on your computer just for scanned documents. This will help you stay organized and find your digital files easily later.
https://adobescan.app.link/GpBqG8Bkoeb
Choosing the Right Scanner for Your Needs in Minnesota
Choosing the right scanner depends on what you need and how much you will scan. If you will use it sometimes at home or in a small office, a simple flatbed scanner with a feeder will work well. But if you often scan high-resolution pictures, you should get a flatbed scanner that has a higher dpi.
Think about how versatile the scanner is, too. Some models can scan both sides of a page at once, which is called duplex scanning. Also, if you want to scan slides or negatives, there are special scanners made just for that.
Keep in mind, buying a good-quality scanner can save you time and effort later. Features like automatic document feeders and improved image processing make your work easier.
https://cta-redirect.hubspot.com/cta/redirect/8095496/7917a630-bc0e-434b-bb15-320a79f6342a
Step-by-Step Guide to Scanning Documents
Follow these simple steps to scan and save your documents. Make sure to check your scanner’s user manual for the best instructions for your model.
By using this guide, you can easily make digital copies of your documents, photos, and important papers. This will help keep them safe and easy to access.
https://en.wikipedia.org/wiki/QR_code
Step 1: Powering Up and Connecting Your Scanner
- First, make sure your scanner is plugged into a power source and turned on.
- If your scanner uses USB, check that it is securely connected to your desktop or laptop.
- For wireless scanners, confirm it is linked to your Wi-Fi network.
- Once the scanner is connected, Windows users can find it by searching for “Printers & Scanners” in the start menu.
- Mac users can check for connected devices in “Printers & Scanners” in System Preferences.
- If you have problems connecting, look at your scanner’s user manual for steps to fix issues with your model.
Step 2: Launching Your Scanning Software
Most operating systems, like Windows and Mac, have their own scanning tools. For example, you can find Windows Fax and Scan or Image Capture in these systems. However, using the app or software from your scanner’s brand usually gives you more features and better choices.
If you need to install the software, go ahead and do that. Then, open the application. Get to know its layout. This usually means picking your scanner model and starting a new scan.
If you don’t have a scanner, don’t worry. You can use mobile apps like Google Drive. They let you scan documents easily with your smartphone’s camera.
https://support.apple.com/en-us/HT210336
Step 3: Adjusting Scan Settings for Optimal Quality
Before you start the scan, take a moment to set it up for the best results.
- Choose the right color mode. Use color for pictures or documents with color. Use grayscale for black and white images that have gray shades. For text-only documents, pick black and white.
- Adjust the resolution (dpi) depending on what you need. Higher dpi gives larger file sizes but keeps more detail. This is good for images or documents that need to be clear. Lower dpi settings work well for documents full of text when size is a concern.
- Try changing the brightness and contrast settings, especially for faded originals, to get the best scan quality.
Step 4: Placing Your Document in the Scanner
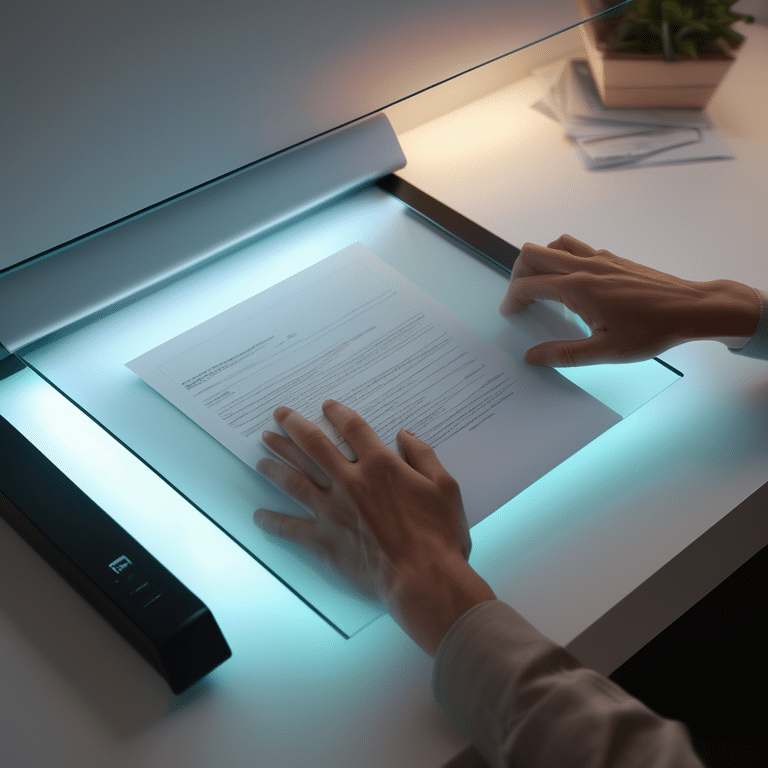
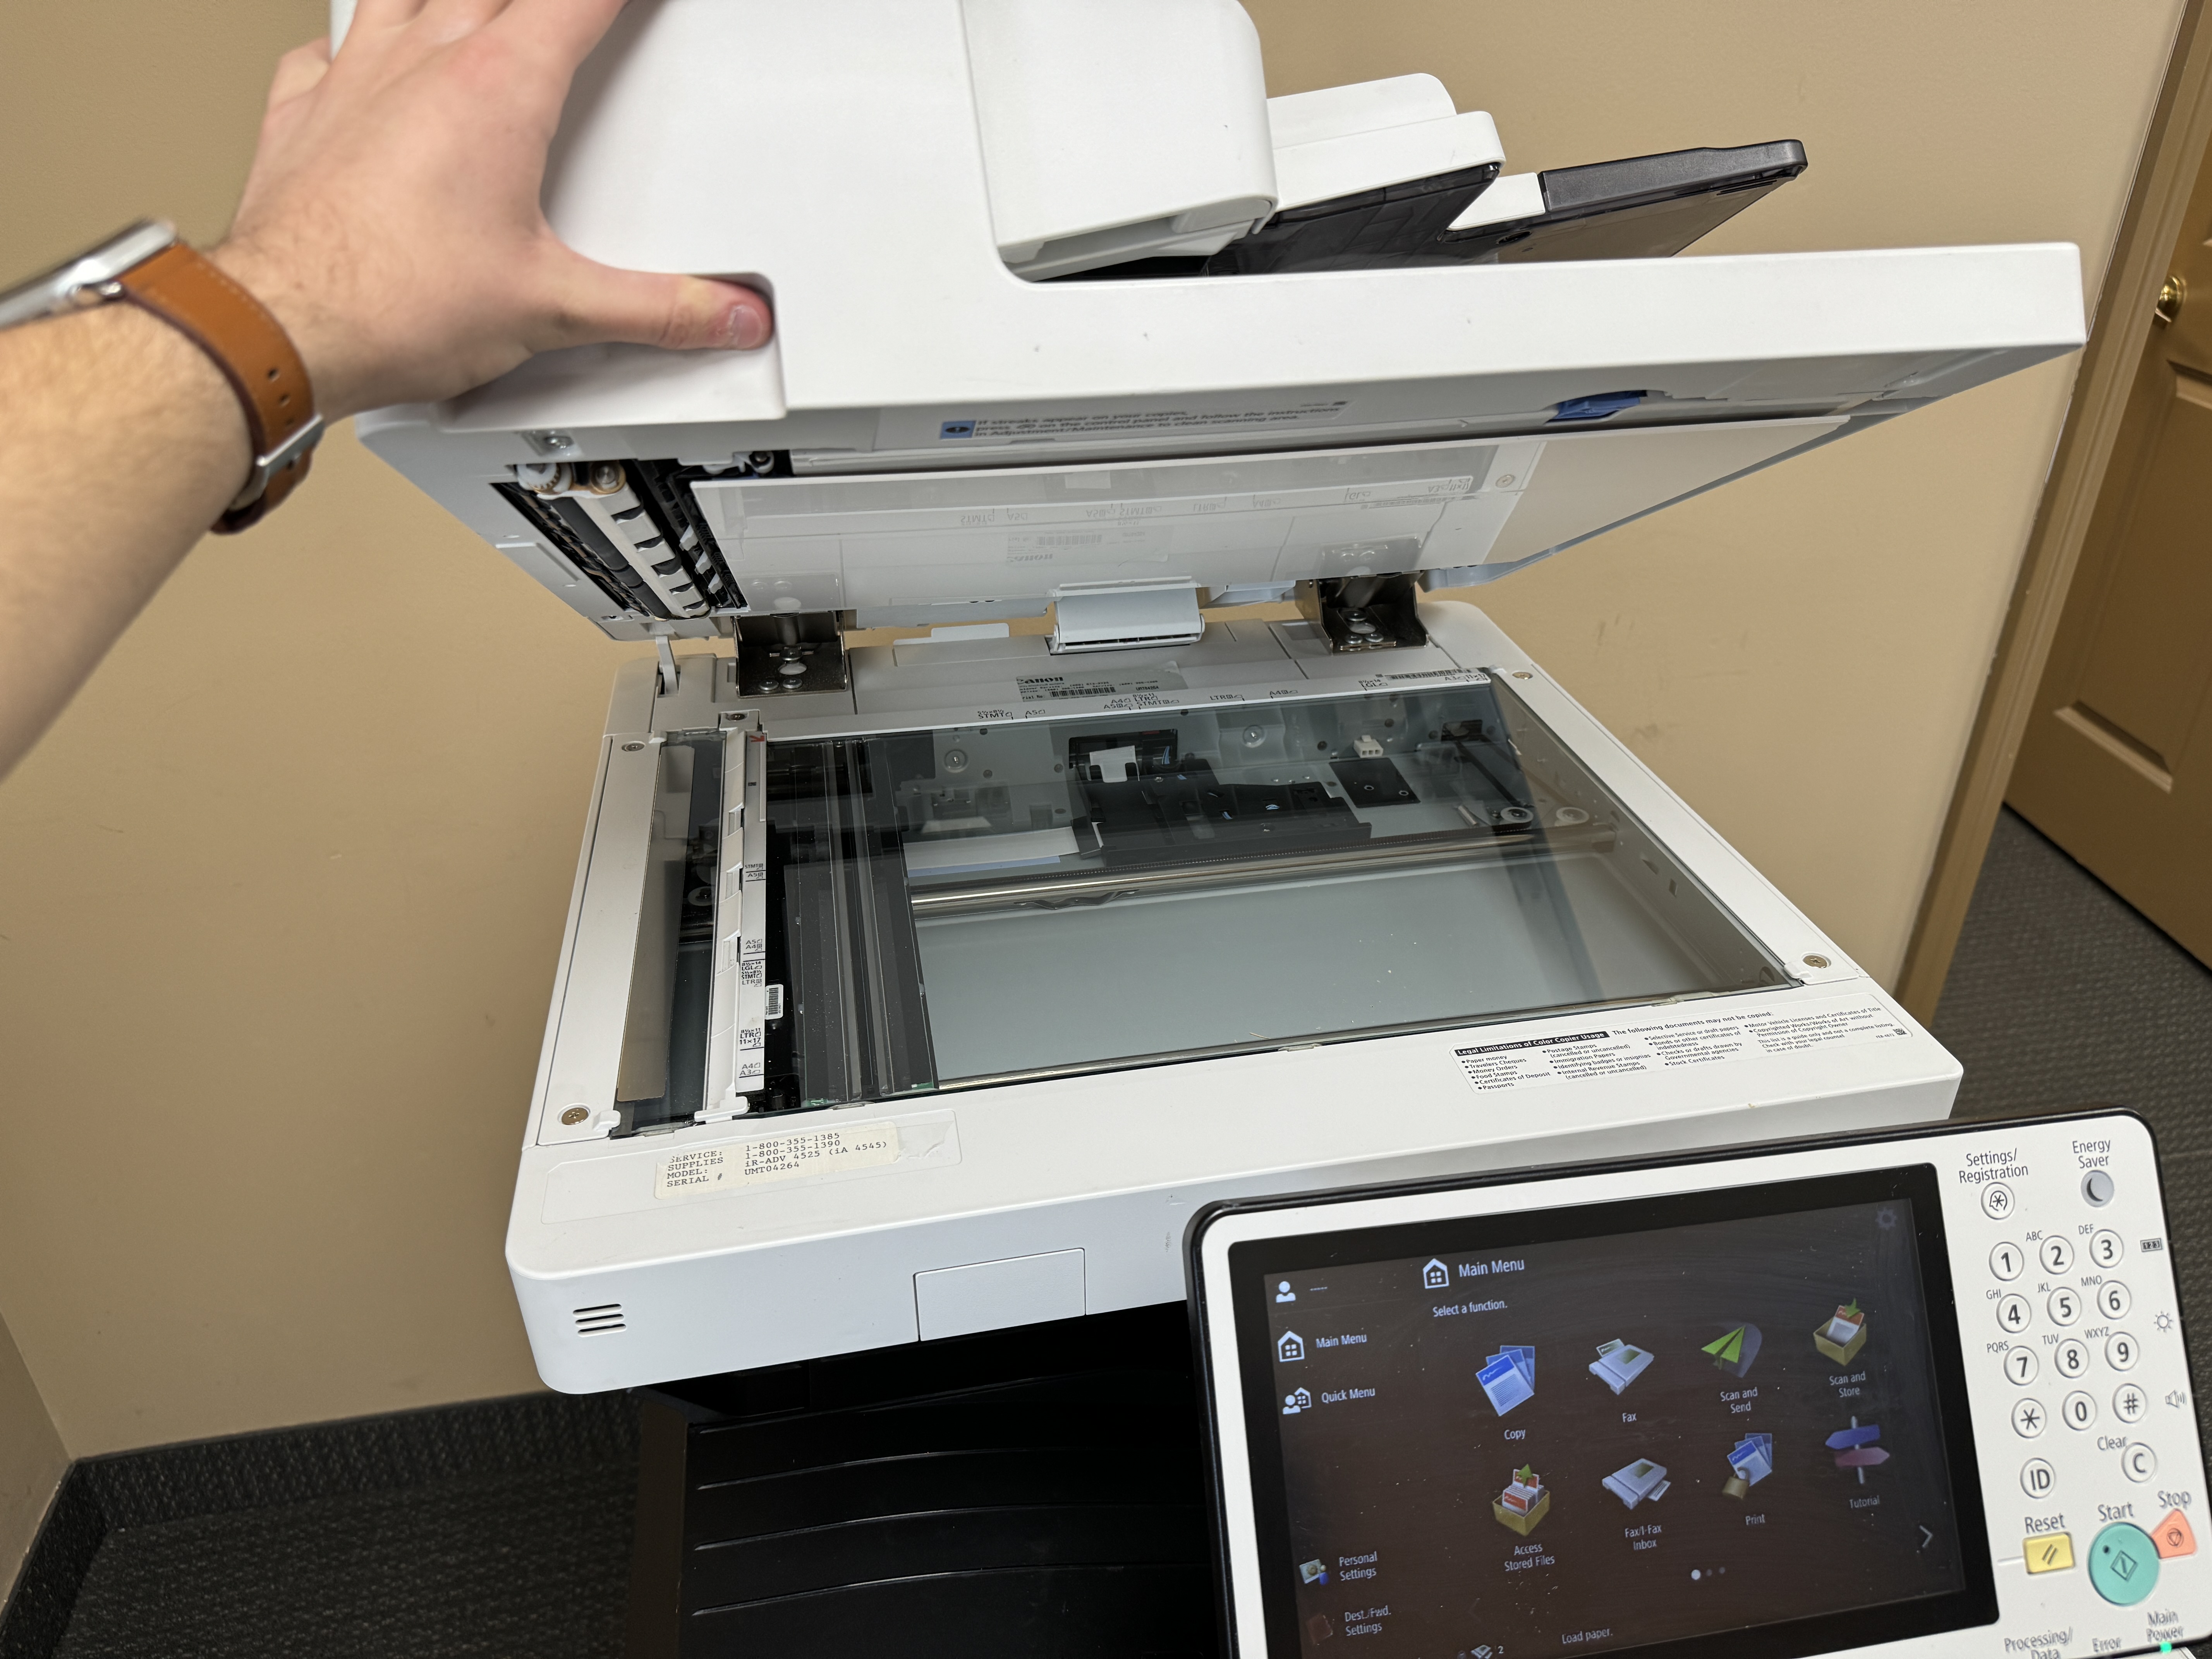
For flatbed scanners, first lift the scanner lid. Then, place your document face down on the glass. Make sure it lines up with the corner guides or markings to scan it correctly. Close the lid gently to avoid shadows or distortions.
If you are scanning multiple pages using an automatic document feeder, align the papers neatly. Insert the stack as shown in your scanner’s instructions to prevent paper jams. Most scanners have guides to help you with proper alignment in the feeder.
Always check your scanner’s instruction manual for guidance on placing documents. This is important, especially for delicate or oversized originals.
Step 5: Previewing and Adjusting the Scan
Before doing a final scan, most scanning software has a preview feature. When you see the preview, check it closely for any cropping problems, alignment issues, or unwanted marks that might need fixing.
Use the software’s tools to adjust the scan area, rotate the image if you need to, and change the brightness or contrast for better clarity. You can usually find these options in the scanning software, marked with pictures or words.
By reviewing and adjusting your scans before saving them, you can make sure the digital copies are good in quality and accuracy.
Step 6: Saving Your Scanned Document Correctly
Once you are happy with the scan preview, pick a file type to save your document. PDF is usually the best choice for text-rich documents. It works well everywhere and keeps the layout the same. You can also choose other types like JPEG for pictures or TIFF for high-quality scans that are bigger in size.
Go to the folder on your computer where you want to save the scanned document. Using a clear naming system for your files, like adding dates or keywords, can help with organization and make it easier to find them later.
After you pick the file type, the save location, and the file name, click the “Scan” or “Start Scan” button in your software. Most programs show a progress bar to let you know how long the scan will take.
Advanced Scanning Tips
Take your scanning skills higher with these extra tips. By learning these techniques, you can make your scanning work faster and better.
Keep in mind that these are just some ideas to improve your scanning. Always check your scanner’s user manual and try different settings to get the best results for what you need.
Enhancing Scanned Document Quality
To get the best quality from your scanned documents, keep these simple tips in mind. When you scan documents with both text and images, use a higher dpi setting. This helps capture details more accurately.
Pick the right color mode for the document. Grayscale mode works well for text and black-and-white images. But if you have colorful photos or illustrations, use color mode to keep their brightness.
Also, make sure the scanner bed and document feeder are clean. Dust and smudges can show up in your scans and make them look less clear and not as nice.
Efficiently Organizing Scanned Documents
Establishing a system for your scanned documents is very important. This will help you find what you need easily and keep everything managed over time. Create specific folders for different types of documents, like personal, financial, or work-related. This setup should make sense.
Think about using a consistent naming method for your scanned files. Use keywords or dates in the names to make searching easier. For example, you can format it like “Invoice2023-10-26″ or “ContractCompanyName.”
Consider using cloud storage services, such as Google Drive or Dropbox. These options will keep your important scans backed up and safe, giving you easy access from different devices.
Troubleshooting Common Scanning Issues
Even with the best tools and methods, problems might come up when you scan. Knowing how to fix these common issues can help you save time and avoid stress.
If you follow a simple step-by-step way to deal with these problems, you can solve many scanning troubles without needing expert skills.
Dealing with Scanner Connectivity Problems
Connectivity problems often cause scanning issues. First, make sure your scanner is connected to your computer. This can be done with a USB cable or a stable Wi-Fi network for wireless scanners.
Next, check the cables. They should be securely attached, and the scanner must be turned on. If you have a wireless scanner, ensure your Wi-Fi network works correctly. You may need to restart your router if there are any issues.
If the problem continues, look at your scanner’s user manual. It will have specific steps to help you with connectivity issues related to your model.
Overcoming Scanned Image Quality Issues
Dealing with poor image quality can be annoying. First, clean the scanner bed or the document feeder to get rid of dust that can blur the images. If you keep seeing faint lines, you might need to adjust your scanner’s calibration. Check your user manual for help with this.
Try out different dpi settings in your scanning software. This helps you find a good balance between file size and image detail. Higher dpi settings will create larger files but usually result in clearer images.
You may also want to change the brightness and contrast settings, especially if the original document is dim. Most scanning programs have sliders you can use to make these adjustments for clearer scans.
Conclusion
Scanning documents is now simple with these steps. First, get your documents ready. Next, choose the right scanner. Follow our guide to scan and save your files with ease. Make sure to adjust the scan settings and preview your documents. Save them correctly for the best results. You can improve the quality of your documents with our helpful tips. If you face common issues, like problems with connectivity or image quality, we can help you troubleshoot. With our complete guide, scanning documents in Minnesota can be smooth and easy. If you have any more questions, visit https://www.minnesotadocumentscanning.com/.
Frequently Asked Questions
How do I scan a document if I don’t have a scanner?
You can use your smartphone to scan documents. The Notes app on iPhone and Google Drive on Android lets you take pictures of documents. You can save these scans and then email them or keep them stored.
Can I scan documents directly to the cloud?
Yes, many scanners and scanning apps let you scan directly to cloud storage. Look at your scanner settings or app features to find options that work with services like Google Drive. They usually let you save files directly as PDFs. This makes it easy to access your documents.
What are the best settings for scanning photos?
For clear photo scans, choose “color mode” and set the dpi to at least 300 in your scanner settings. Saving your images as JPEG usually gives a good mix of quality and file size.
How can I make my scanned documents searchable?
Use Optical Character Recognition (OCR). Many scanners and scanning apps have OCR features. This feature changes scanned images of text into text that you can search and edit in a PDF.
What should I do if my scans are too dark or too light?
Adjust the brightness and contrast in your scanner settings or scanning app. When you increase brightness, the image becomes lighter. Changing the contrast will affect how dark and light areas compare. This can help improve the overall look of the image.